 Veyndesk
Getting started: connect to another computer
Four steps, with real screenshots: share the ID and password, connect, accept, control.
Last updated 31 October 2026 · Veyndesk 0.5.1
Install Veyndesk on both computers first (Download). The screenshots were taken on Linux on 31 October 2026; Windows and macOS look the same. The IDs and passwords shown are from a test machine.
1. The person who needs help: read out your ID and password
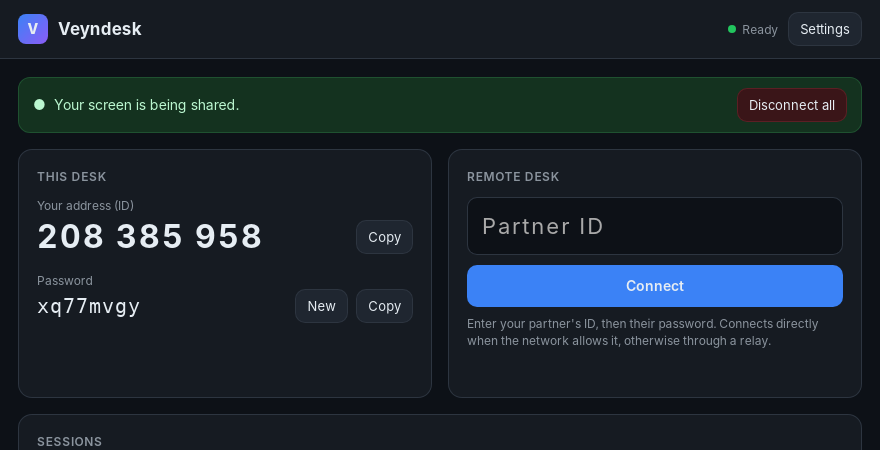
Open Veyndesk. Under This desk you'll see your address (ID), 9 digits, and a password of 8 letters and numbers. Tell your partner both (or use the Copy buttons). The status at the top right should say Ready.
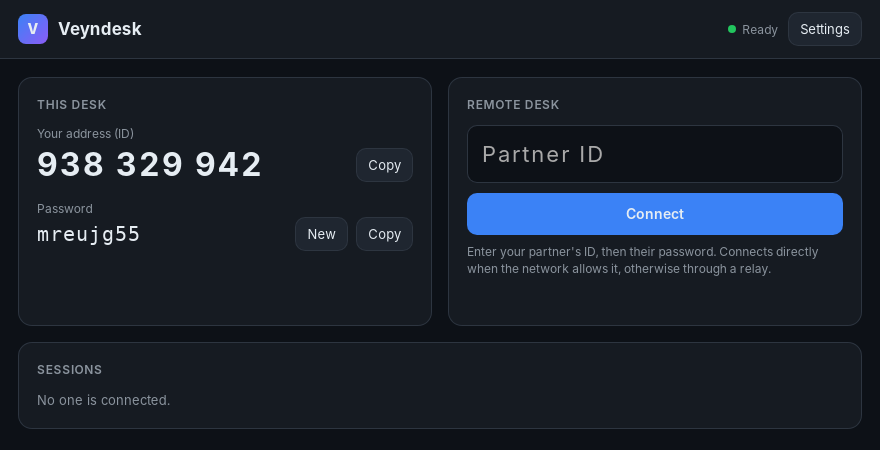
The password is a one-time password: a new one is made every time Veyndesk starts, or when you click New.
2. The helper: enter the partner's ID and click Connect
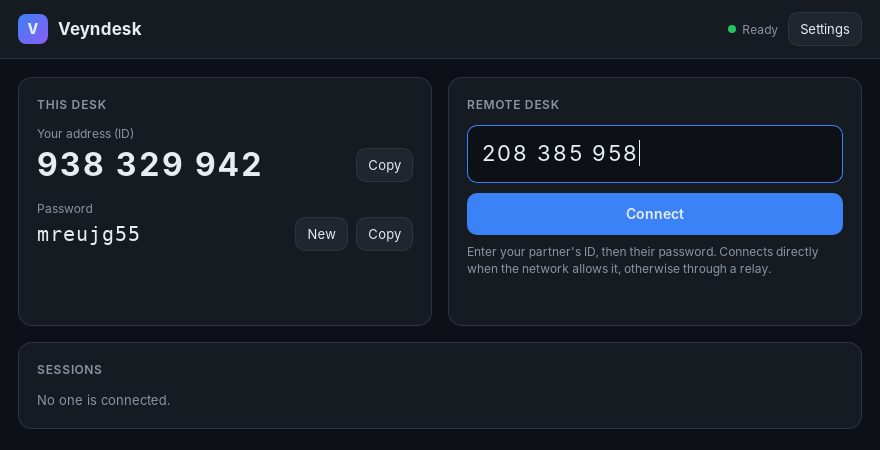
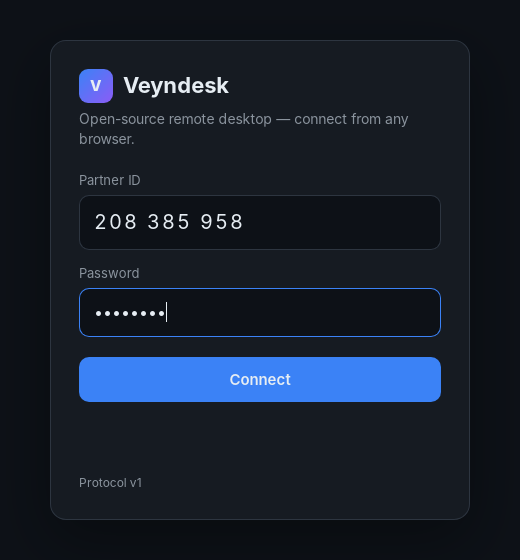
A new window opens. Enter the partner's password and click Connect.
3. The person who needs help: Accept
If the password is right, the other computer shows Incoming connection. Click Accept to allow it, or Deny. If nobody answers within about 45 seconds, the connection is refused.
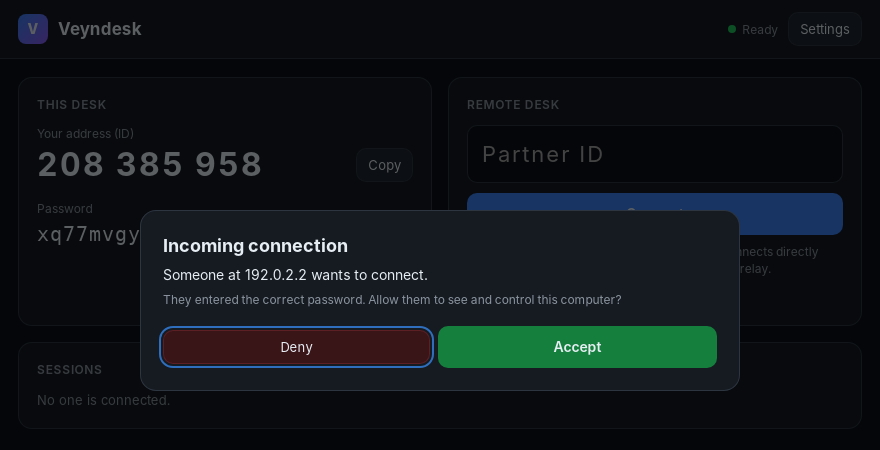
The prompt appears for one-time-password sessions while ask before accepting is on in Settings (the default). Sessions using a permanent password start without a prompt. See unattended access.
4. Connected
The helper now sees the screen and can use the mouse and keyboard. The shared computer shows Your screen is being shared and lists the session. Either side can end it: Disconnect in the viewer, or Disconnect all on the shared computer.
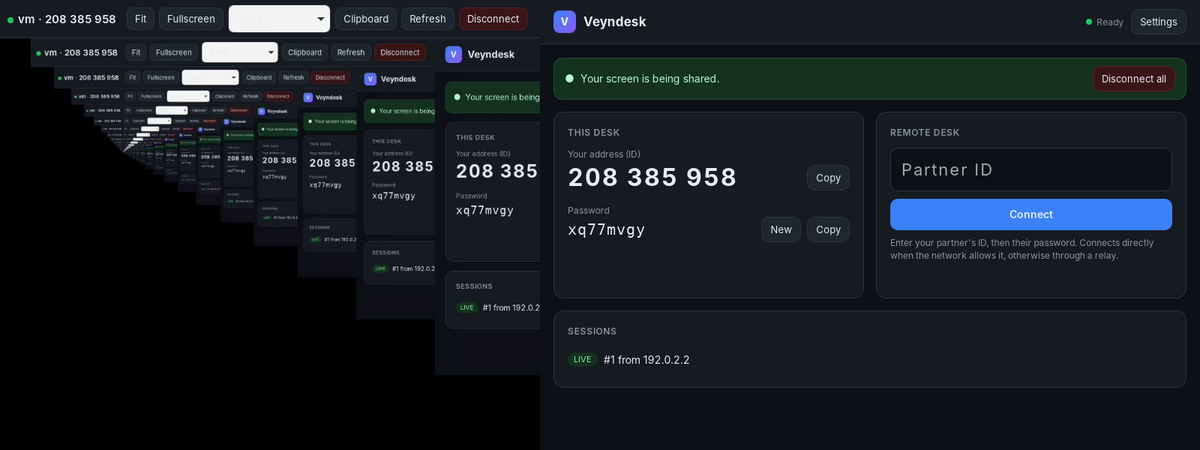
In the viewer toolbar: Fit (scale to window), Fullscreen, Keys (Ctrl+Alt+Del and other special keys), Clipboard, Refresh, Disconnect.
On the same network
Computers on the same network find each other automatically. You can also type the other computer's IP address instead of its ID. Note: connections by IP address are not encrypted yet; prefer the ID on networks you don't trust.